

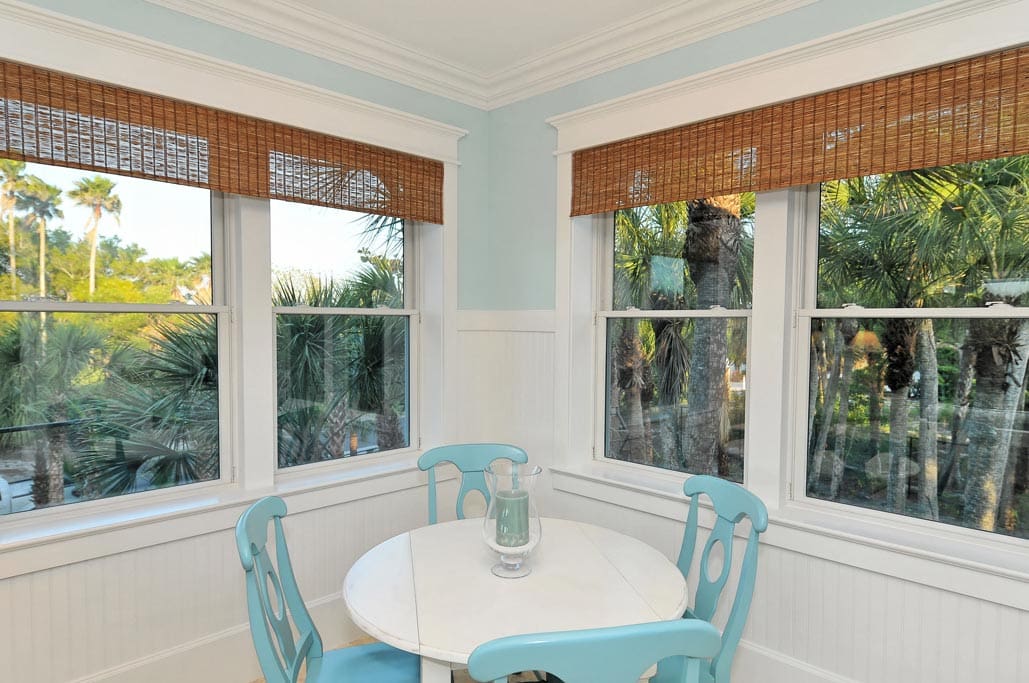
A great and inexpensive way to freshen up your interior space is to paint or repaint the trim that frames your walls, windows, and doors. There are several types of trim and accenting them with a fresh coat of paint is an excellent way to rejuvenate any room. The most common forms of trim are:
- Baseboards
- Crown molding
- Casing & wainscoting
- Chair or picture rail
While most of these trims are simply decorative, they can actually be quite useful. They’re used to protect high-use areas of the wall and hide the crack between the wall and flooring. Because of this, the trim in your house is likely to get scuffed and damaged more quickly than the walls, so painting them can mean a little extra work.
Fill Defects & Sand It All Down
To get the perfect paint job on any trim, you should locate any defects along the wood using a light pencil and a bright light. The dents and dings in the wood can be easily fixed with wood filler. Then sand over the entire surface, removing excess or chipped paint and smoothing over the filler.
Once everything has been sanded, be sure to clean up the dust with a vacuum, going over it a few times with a damp cloth followed by a dry towel. This ensures no grit gets caught in the new paint.
If you’ve sanded and prepped the molding well enough, you shouldn’t need to use primer except on the areas with wood filler. Priming the wood filler makes sure that the paint applies and shines evenly along the entire length of the trim.
Which Paint & Brush is Best
If your home or business features wide molding, like most baseboards and wainscoting, it’s best to use a wide flat brush for the majority of the surface, finishing with a small angled brush no larger than 2 inches. For thin molding and decorative trim, stick to the small brush for the entire project.
A white trim can provide a bright accent to a colored wall, even if the wall is a pale or neutral color. With white trim, it’s best to choose a high gloss or semi-gloss finish. Darker trim used to accent or blend a lighter wall does well with a flat or semi-gloss paint.
Tips & Tricks from the Experts
The last step of preparation is to apply painters tape to the wall around the molding. Apply at least two coats of paint, sanding each layer for the shiniest and longest-lasting paint job. It’s best to wait 24 hours for the paint to dry before sanding it.
The paint professionals at West Coast Painting know all the best techniques to give your trim and molding the shine it deserves. We take on projects large and small to help showcase any home or business. Call now for your free estimate: 941-320-0332.